Mastering FlutterFlow and Supabase Integration: A Practical Guide
A Guide to FlutterFlow and Supabase Integration
FlutterFlow and Supabase: Build Modern Apps in a Flash
In today’s fast paced development world finding tools that speed up app creation while keeping functionality intact is like finding gold. Enter FlutterFlow and Supabase – a game changing combination that’s changing the way we build mobile apps. The flutterflow integration with Supabase streamlines app development by allowing users to connect Supabase easily, combining Supabase’s backend services with FlutterFlow’s visual tools. Let’s get into why this duo is making waves in the development community.
The Power Players: Meet FlutterFlow and Supabase
FlutterFlow: Where Visual Meets Functionality in Your FlutterFlow Project
Imagine building a complex mobile app without drowning in code. That’s FlutterFlow’s promise. Built on Flutter, Google’s popular UI toolkit, FlutterFlow turns the code heavy process of app development into a visual experience.
What’s special about FlutterFlow?
-
🎨 Visual Design Tools: Design stunning UIs with drag-and-drop interfaces
-
🧩 Rich Widget Library: Pre-built, customizable widgets that save you hours of coding
-
🔌 Firebase Integration: Connect to Firebase services (and other backends)
Supabase: The Backend Swiss Army Knife with Supabase Dashboard
Think of Supabase as your backend Swiss Army knife. This open source platform has everything you need to power modern apps:
-
🗄️ PostgreSQL Database: Enterprise grade database without the complexity
-
🔐 Built-in Authentication: User management out of the box
-
⚡ Real-time Updates: Live data sync that just works
-
📦 File Storage: File management made easy
Why They’re Better Together: Supabase Integration
1. Development at Lightning Speed with Action Flow Editor
The FlutterFlow-Supabase combo is like having a development superpower. While FlutterFlow handles the visual, Supabase handles the backend. This means:
-
Faster prototyping
-
Quicker iterations
-
Less time to market
2. Data Management Made Simple
No more wrestling with complex database setups. With Supabase’s PostgreSQL database in FlutterFlow, you can easily manage a Supabase table:
-
Create CRUD operations visually
-
Manage complex data relationships
-
Migrate data without pain
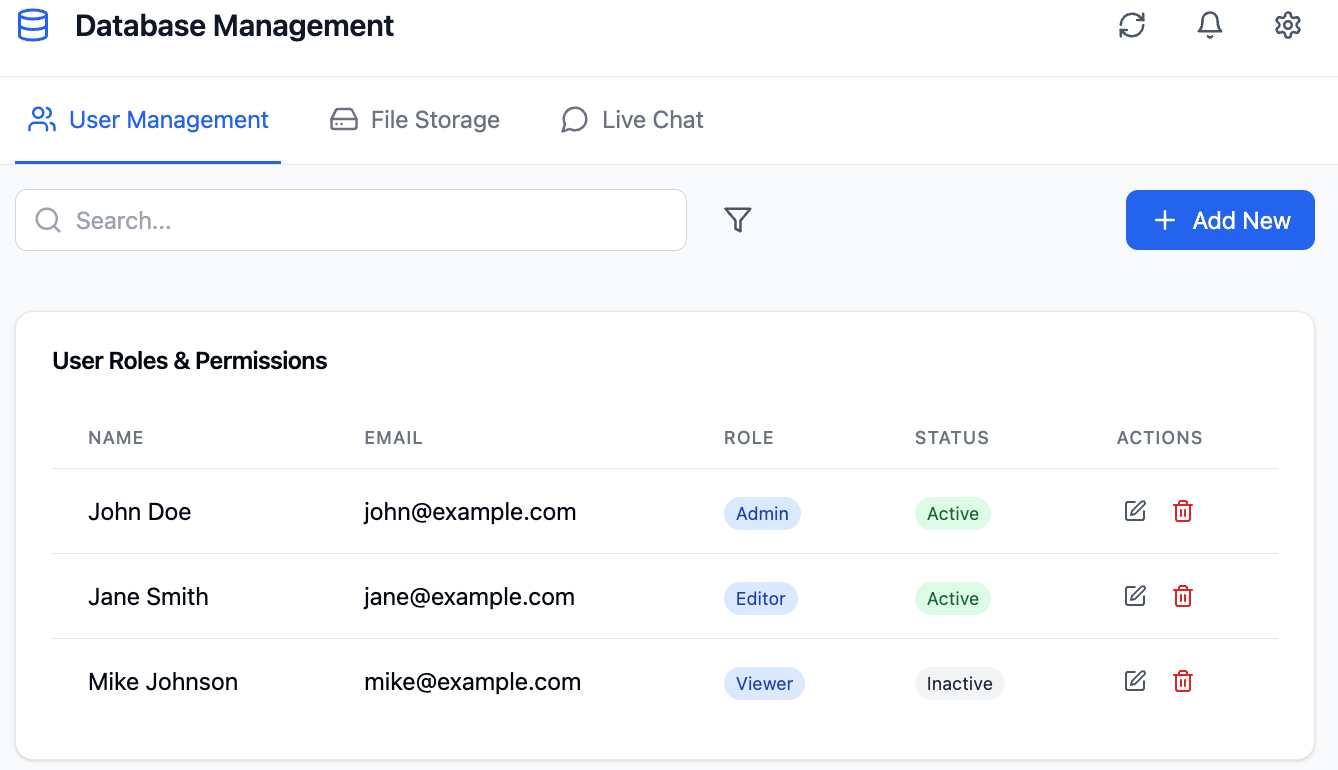
3. Authentication That Just Works
Security shouldn’t be a bottleneck. The integration of the Supabase client has:
-
Multiple authentication methods
-
Social login
-
Secure session management
-
User role management

4. Real-time Features at Your Command
Building real-time features has never been easier:
-
Live chat apps
-
Collaborative tools
-
Real-time dashboards
-
Instant notifications
5. Scale Without Breaking a Sweat
As your app grows the integration scales with you:
-
Handle more users
-
Handle large data volumes
-
Add features without refactoring
Getting Started with Supabase
Embarking on your Supabase journey is a breeze. Here’s how to get started:
-
Sign Up and Create a Project: Head over to the Supabase website and sign up for an account. Once you’re in, click on the “New Project” button to kickstart your Supabase project.
-
Fill in the Details: Provide the necessary information, such as your project name and password. This will set up your Supabase project.
-
Explore the Supabase Dashboard: After creating your project, you’ll be directed to the Supabase dashboard. This is your control center where you can manage your project settings and API keys.
-
Retrieve Your API Keys: To integrate Supabase with FlutterFlow, you’ll need your project API keys. Look for your API URL and Anon Key in the dashboard.
-
Integrate Supabase with FlutterFlow: With your API keys in hand, you’re ready to integrate Supabase into your FlutterFlow project. This will unlock a world of backend services for your app.
Creating a FlutterFlow Project
Starting a new project in FlutterFlow is a breeze, thanks to its intuitive interface and powerful tools. Here’s how you can get your FlutterFlow project off the ground:
-
Navigate to the FlutterFlow Dashboard: Begin by logging into your FlutterFlow account. Once you’re in, click on the “Create New Project” button prominently displayed on the dashboard.
-
Enter Project Details: Give your project a name that reflects its purpose. You’ll also need to select the type of project you’re working on, whether it’s a mobile app, web app, or desktop app.
-
Choose a Template or Start from Scratch: Depending on your project requirements, you can either choose from a variety of pre-built templates or start with a blank canvas. Templates can save you time by providing a solid foundation, while starting from scratch offers complete flexibility.
-
Set Up Project Settings: Configure your project settings, including the project URL and API keys. These settings are crucial for integrating backend services and ensuring smooth operation.
-
Access the Action Flow Editor: Once your project is set up, dive into the Action Flow Editor. This powerful tool allows you to build your app’s logic visually, making it easier to manage complex workflows without writing extensive code.
With these steps, you’ll have your FlutterFlow project ready to go, setting the stage for integrating Supabase and other backend services.
Setting Up Supabase with FlutterFlow
Connecting Supabase with FlutterFlow is straightforward. Follow these steps to connect Supabase and get everything up and running:
-
Navigate to Data & Backend: In your FlutterFlow project, go to the Data & Backend section.
-
Add Supabase as a Backend: Click on the “Add Backend” button and select Supabase from the list of available services.
-
Enter Your API Keys: Input your Supabase project API keys, including the API URL and Anon Key. This will configure Supabase in your FlutterFlow project.
-
Connect Your Project: Hit the “Connect” button to link your Supabase project with FlutterFlow.
-
Access Supabase Services: Once connected, you can utilize Supabase’s real-time database, authentication, and file storage within your FlutterFlow project. This integration streamlines your development process, making it easier to build robust apps.
Managing Data in Supabase
Managing your app’s data is straightforward with Supabase. Here’s how you can efficiently handle your database operations:
-
Access the Supabase Dashboard: Log into your Supabase account and select the project you want to work on. The dashboard is your control center for all things related to your Supabase project.
-
Navigate to the Tables Tab: Click on the “Tables” tab to view and manage your database tables. This is where you can see all your existing tables and create new ones.
-
Create and Manage Tables: Whether you need to create new tables, edit existing ones, or delete tables, the Supabase dashboard makes it easy. Define your table structure, including column data types, and manage relationships between tables.
-
Use the Supabase Client: Interact with your database tables using the Supabase client. This includes performing CRUD (Create, Read, Update, Delete) operations, ensuring your app can dynamically handle data.
-
Ensure Permissions and API Keys: Make sure you have the necessary permissions and API keys to access and manage your Supabase data. This is crucial for maintaining security and functionality.
By following these steps, you can efficiently manage your data within Supabase, ensuring your app runs smoothly and securely.
User Management with Supabase
Handling user management in Supabase is both powerful and straightforward. Here’s how you can manage your users effectively:
-
Access the Supabase Dashboard: Start by logging into your Supabase account and selecting the project you want to manage. The dashboard provides a comprehensive view of your project’s user management capabilities.
-
Navigate to the Users Tab: Click on the “Users” tab to view and manage your users. This section allows you to see all registered users and their details.
-
Create, Edit, and Delete Users: You can easily create new users, edit existing user information, or delete users as needed. This flexibility ensures you can manage your user base effectively.
-
Use the Supabase Client for Authentication: The Supabase client provides robust tools for authenticating and authorizing users. This includes handling login, logout, and password reset functionalities, ensuring a seamless user experience.
-
Ensure Permissions and API Keys: As with data management, ensure you have the necessary permissions and API keys to access and manage your Supabase users. This is essential for maintaining security and proper functionality.
With these steps, you can manage your users efficiently, providing a secure and seamless experience for your app’s users.
Examples
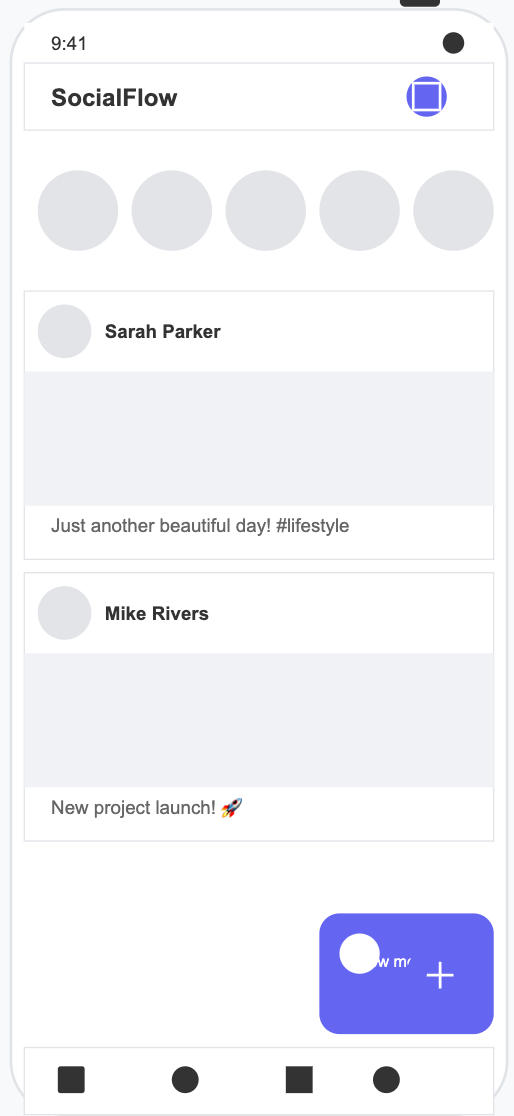
Social Media Platform
Build the next big social network with:
-
Real-time posts
-
User authentication
-
Media sharing
-
Interactive features
E-commerce Solutions
Create a shopping experience with:
-
Product catalog
-
Real-time inventory
-
Secure payments
-
Order tracking
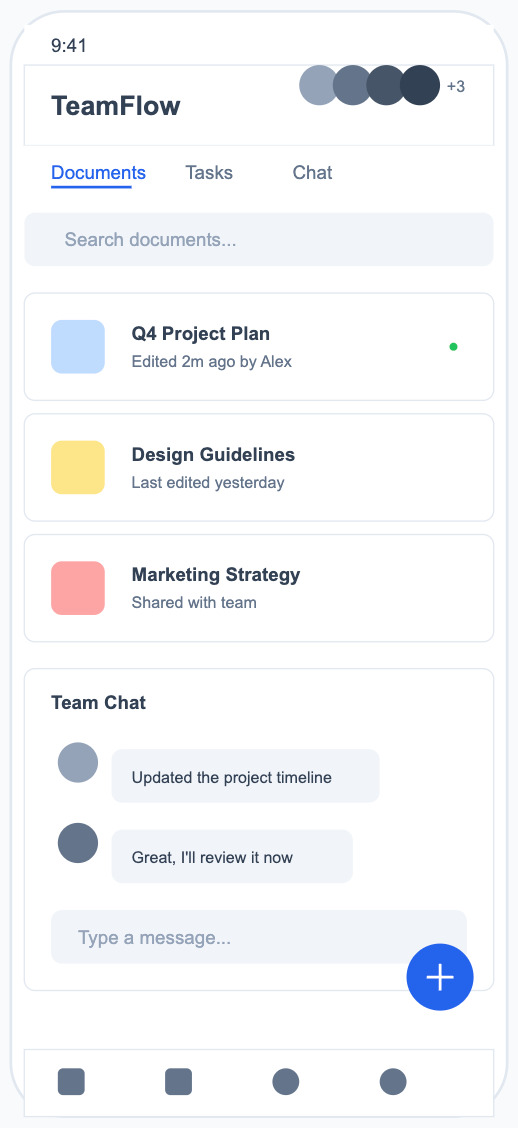
Collaboration Tools
Build team tools with:
-
Document sharing
-
Real-time editing
-
Team chat
-
Project management
Launching and Deploying FlutterFlow Apps
Deploying your FlutterFlow app is the final step to bringing your creation to life. Here’s how to do it:
-
Go to the Deploy Section: In your FlutterFlow project, navigate to the Deploy section.
-
Deploy to the Cloud: Click on the “Deploy” button to push your app to the cloud. This makes your app accessible online.
-
Access Your Deployed App: Once deployed, you can find your app in the FlutterFlow dashboard. Click on the “Launch” button to open it in a web browser.
-
Deploy to Mobile Devices: For mobile deployment, click on the “Deploy to Mobile” button. This allows you to test and use your app on mobile devices.
-
Enjoy Your Live App: With your app deployed, you can now share it with users and gather feedback to make further improvements.
Troubleshooting and Optimization
Ensuring your FlutterFlow and Supabase integration runs smoothly requires some troubleshooting and optimization. Here’s how you can keep your app in top shape:
-
Consult Official Documentation and Community Forums: When you encounter issues, the first step is to check the official documentation and community forums for common problems and solutions. These resources are invaluable for finding quick fixes and best practices.
-
Use the Supabase Dashboard and FlutterFlow Action Flow Editor: Both the Supabase dashboard and the FlutterFlow Action Flow Editor are powerful tools for debugging and optimizing your app’s logic and data flow. Use them to identify and resolve issues efficiently.
-
Keep Your Tools Updated: Ensure you have the latest versions of Supabase and FlutterFlow installed and configured correctly. Updates often include important bug fixes and performance improvements.
-
Optimize Performance: Improve your app’s performance by using efficient data structures, minimizing API calls, and leveraging caching and other optimization techniques. This will help your app run faster and more reliably.
-
Monitor Performance and User Engagement: Use analytics tools to monitor your app’s performance and user engagement. This data can help you identify areas for improvement and adjust your optimization strategies accordingly.
By following these tips, you can troubleshoot issues and optimize your app, ensuring a smooth and efficient user experience.
Advanced Topics and Resources
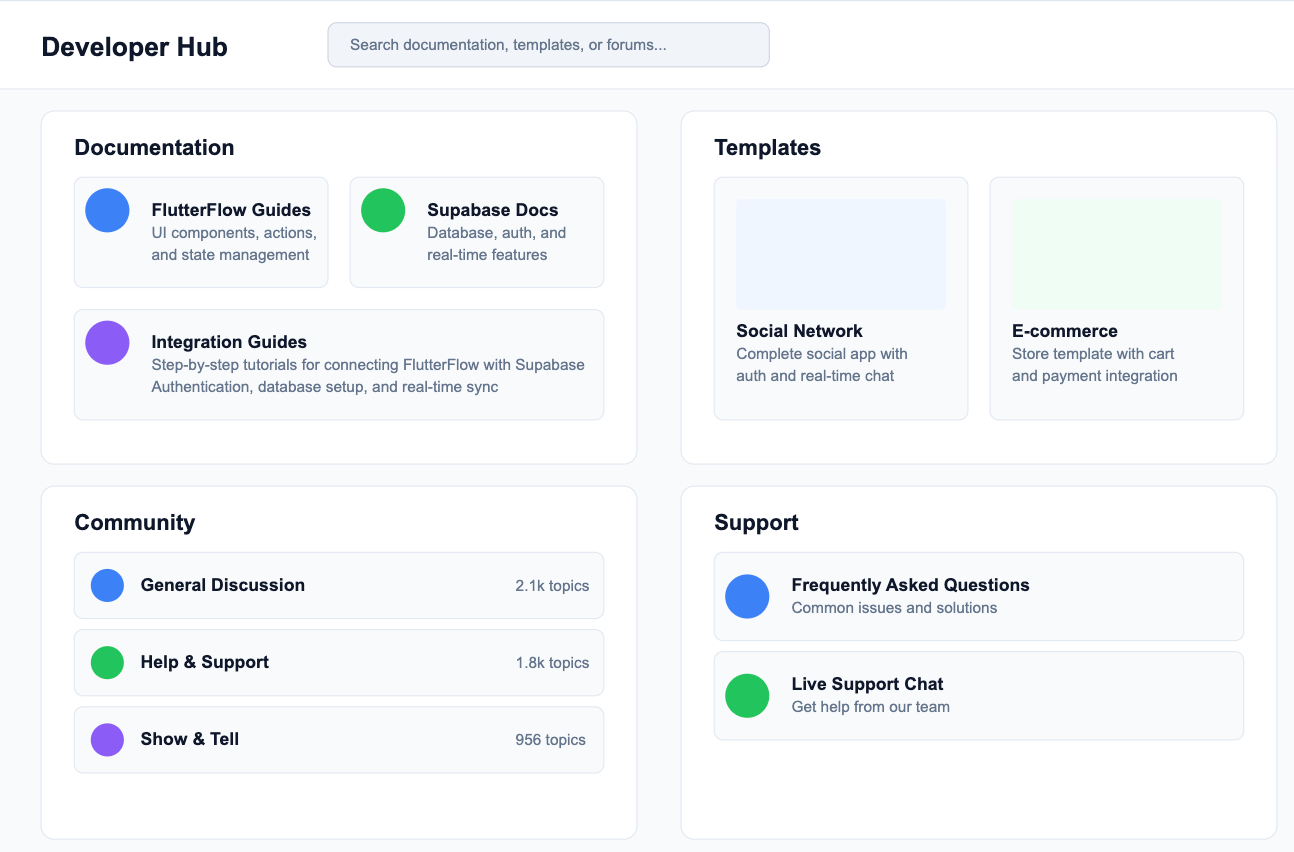
For those looking to dive deeper into Supabase and FlutterFlow, there are plenty of resources available:
-
Official Documentation: Visit the Supabase and FlutterFlow documentation for comprehensive guides, tutorials, and API references. These resources provide in-depth information on using both platforms.
-
Community Resources: Engage with the Supabase and FlutterFlow communities through forums, blogs, and social media groups. These platforms are great for finding tips, sharing experiences, and getting support.
-
Support Pages: For troubleshooting and support, check out the Supabase and FlutterFlow support pages. Here, you’ll find FAQs, troubleshooting guides, and contact information for the support teams.
-
Pre-built Templates and Examples: Explore pre-built templates and examples on the official Supabase and FlutterFlow websites. These can help you get started quickly and provide inspiration for your projects.
By leveraging these resources, you can enhance your skills and build even more powerful apps with FlutterFlow and Supabase.
Conclusion
The FlutterFlow-Supabase integration is more than just another tech stack – it’s a new way of building apps. By combining FlutterFlow’s visual development with Supabase’s backend services developers can focus on what matters most: user experience.
Whether you’re an experienced dev or just starting out, this combo has everything you need to get your app idea out the door fast. App development has never been so easy.
Ready to start building? Dive in and experience the future of app development today!
